Plasma TracerAuthor: Dave Date: 09.22.14 - 10:18am So I have started work on building a plasma cutter tracer attachment using a pantograph setup. Below is a video on how to lay out a pantograph if you are unfamiliar with them. For the one I am making, I decided to go with the holes on the long arms 14in apart. Leaving the short arms at 7in hole distance. 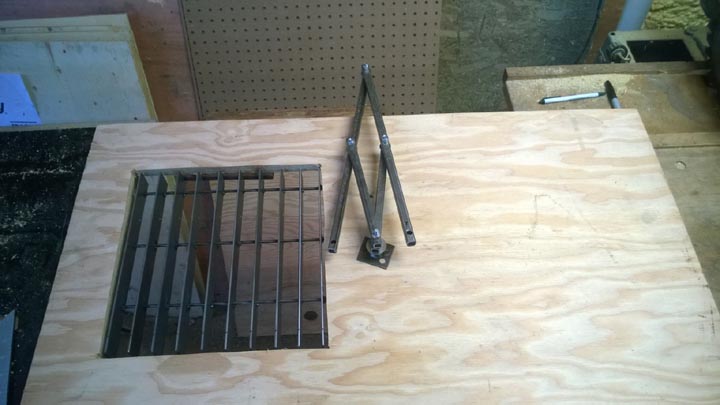
In hindsight, For this size work area, maybe a 20-30in arm would be better. I have a feeling the shorter the arm, the more critical the hole spacing is or you can get skew in your part. Also the mechanism seems pretty smooth when close in, but not so much the farther the spread. Longer is probably better, although you would then have more weight..I dunno, might experiment more. So the plasma cutter I am using is a Lotos LTP500D with pilot arc. It was about $500 from amazon which is quite cheap for what it is. They say CNC ready, which was a big part of my decision to buy it, but there is nothing in the manual or on the web on how to hook it up. Also if you go through uwelding.com website, they do not offer a machine torch for this model. Luckily the trigger switch is connected to the machine through a plug. I am not using a computer setup for this project, just a foot pedal, but the concept is the same. I searched around a lot and finally found a compatible plug in the CNX-505 offered by electricscooterparts.com 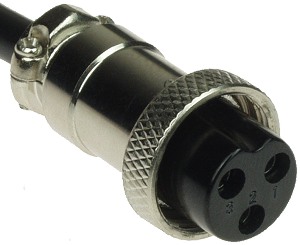
Note:
If you modify your plasma cutter, you probably void the warranty. The connections below worked for me, but your model or revision may be different. You will have to test your own connections, and use your own judgement before doing any hookups. You are solely responsible for your own safety and machine. I took apart the plug on the torch end, only pins 1 and 2 were used. 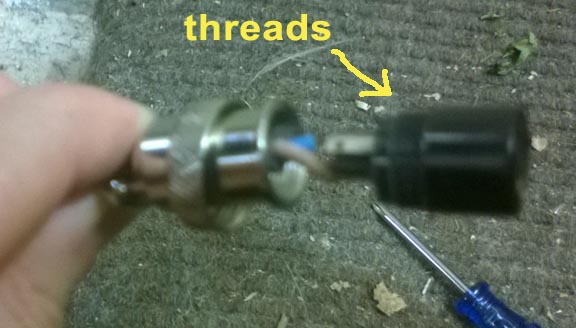
I also took apart the torch itself to see how the trigger was wired. On mine, the trigger just connects the wires directly together, which wasnt what I was expecting, but ok. 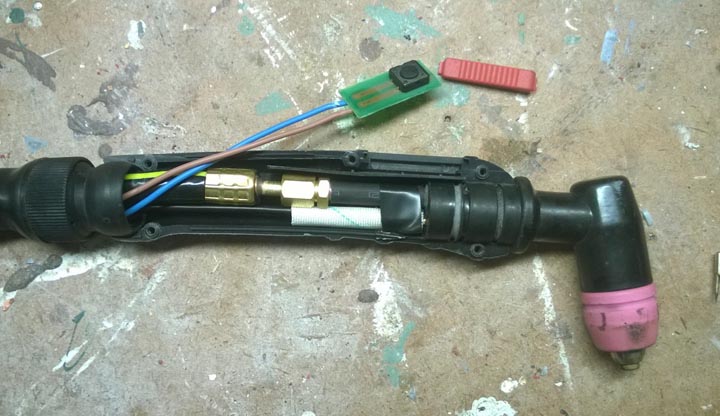
I used this info to wire in a foot pedal to the new plug. The plug coming off of the torch is not used when using the foot pedal switch. I have tested this and it is working fine for me. 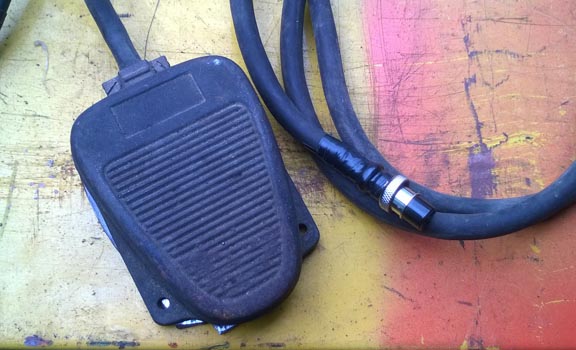
Next came the plasma torch holder. Its adjustable in pretty much every way. There is a double star washer between the angular pivot faces. If that isnt enough friction, I will add a slotted brace in the back. I will hold the torch in the holder (two pieces of angle welded into a C channel) by wrapping it in old innertube, and a couple hose clamps or maybe elastic with velcro (from cheap knee pads) 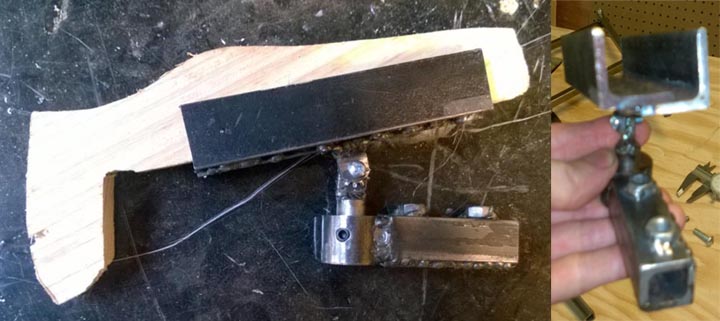
The plywood base is just the right size to sit over a wheelbarrow. I will put a couple gallons of water in the wheel barrow as a quick and dirty water table. did a couple test cuts today. the first set, I just free hand drew a pattern, so that one is hard to judge quality by eye. 
The second set i laid out proper. as a better test. 
In both cases I am not impressed with the holes, although the external profiles are ok. I think the smaller the detail the worse the outcome. The holes probably are reflecting the play in the joints. I am not going to bush every pivot hole, but thats what it needs. Also the weight of the toolholder is to much leading to a sag in the arm. I could make it lighter, or add a roller to the bottom, but I am going to switch gears and use a section of linear rail for each axis. Not worth fighting with this design to shore it up (although it should be possible to get good results) Pros:
Cons:
For take two I used a section of linear rail. I put a little more time in with the plasma trace her this morning couple more thoughts from use. This is really my first use of a plasma cutter so there's still a bit of a learning curve on how to get the best performance. Tracing a drawing by hand I don't know if you can move fast enough for a really nice cut but you don't have to create a physical template, so there are trade-offs especially for one-off pieces which I am almost always doing. the physical template does let you move much faster and requires way less concentration. It strikes me as just the way to do it. Also I was worried about having to always remember to offset templates based on the diameter of the stylus and possibly getting it backwards i.e. shrinking the template when I should grow it etc. it turns out there's an easy way to avoid that entire problem, using the conical point of the tracing stylus I just adjusted it up until just the sharp tip was touching which minimized the diameter to inconsequential size. 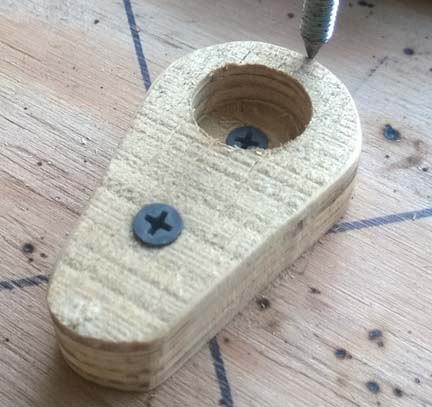
The linear rail also makes for exceedingly easy straight cuts. 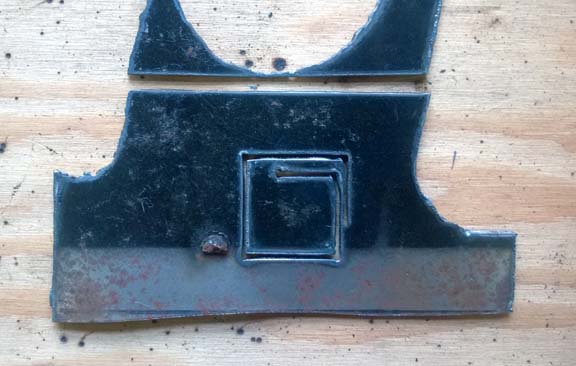
Comments: (2)On 11.11.14 - 8:10pm Bob B. wrote:
On 07.29.15 - 8:02pm Arie wrote:
|
About Me More Blogs Main Site
|
||||||||||||||||||||||||||