Note: I have since upgraded this case to use a modified gang switch box. The case and blank cover costs about 6 dollars at home depot. The original design offered 0 fire protection in case something goes wrong with the arduino. Generally the arduino runs nice and cool and the original design was fully ventilated to allow heat to escape, but I did notice once when the internet was down that the chip got a bit hot as it kept trying to reconnect to the internet.
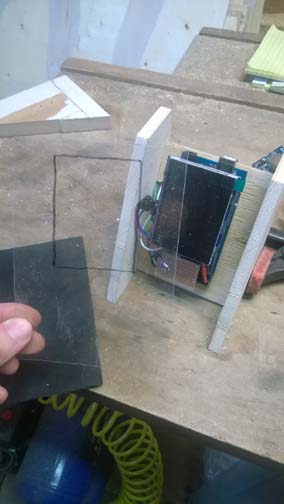
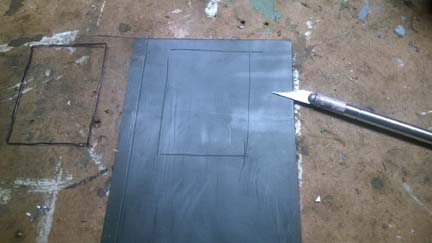
After thinking about it, I really wanted to switch over to an actual electrical enclosure box. All you have to do is make a cut out for the screen, hot glue the screen to the faceplate, and stuff the rest of the components into the box.
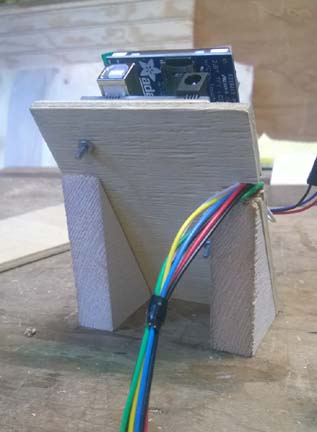
It all fit nicely. I did end up cutting the barrel connector off the power supply and soldering the wires directly onto the mega to save space. I then hot glued the two wooden legs from the original on the outside of the switch box to hold it at the desired angle.

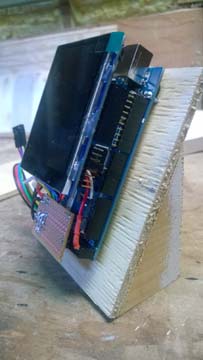
creating an enclosure for the Arduino is an optional step that can give it a more professional look and safeguard the components against accidental static electricity discharges or physical damage.
creating the enclosure for the version 2 build is pretty simple. You just need to mount the device on a backing plate, and cut out a rectangular window for the screen.
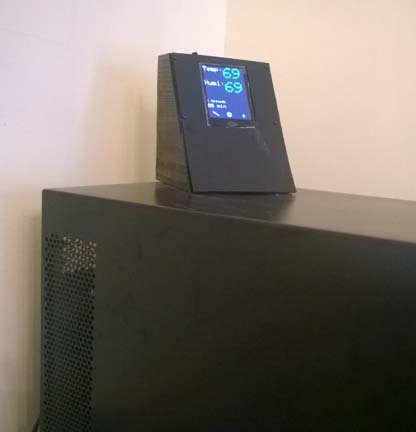
I will just leave you with a few pictures of how I designed mine.